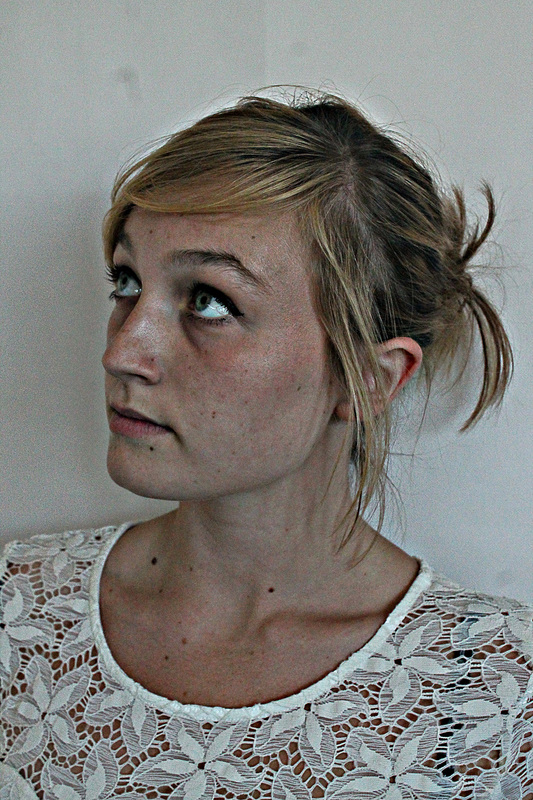
Dodge and burn - dramatic portraits
Human faces hold a high level of detail which can be made to pop with the usage of Photoshop skills. Using sharpening and contrasting techniques you can bring out details that were not originally seen in the image. An image with a lot of light and shadow areas is the best to use for this technique.
First you should create two layers one which will be used to darken the shadows and one to brighten the highlights. One layer should be named Shadows and the other named Highlights to help with the organisation of the process.
With the highlights Layer go to Edits > Fill and under contrast setting change the opacity to 50% Gray. Change the blending mode to Overlay. Duplicate this layer and name the copied layer “Shadows”
Clicking on the highlights layer again choose the dodge tool from the toolbox, choose a soft brush of 150px and set the range to Midtones and Exposure to 5%. Then brush over all brighter tones lightening them, then switch the range to highlights exposure to 2% and brush to 20px using this brush to Dodge the brightest highlights.
After which you should go back to the shadows layer choose the burn tool, select a soft brush of 150px set the range to midtones and exposure to 5%, brush over all shadowed areas to darken them.
Change the range to shadows, reduce the exposure to 2% and increase the brush size to 300px. Brush over the entire image with a single stroke to intensify shadows and increase contrast. After dodging and burning sharpening techniques to bring out even further details you can use sharpening techniques.
Create a merged copy of the image onto a new layer. Alt > Layer > Merge Visible, Filter > Other > High Pass Radius: 5px.
Filter > Artistic > Paint Daubs, Brush size 1, Sharpness 3, Brush time simple,
Change the normal blending mode to Overlay.
Finally create another merged copy Alt > Layer > Merge Visible.
Then Filter > Sharpen > Unsharp Mask
Amount 100%, Radius 50px, Threshold 0
Change the layer palette to lighten, next Ctrl +J duplicating layer and change it to darken as its blending mode. Create the final Merged copy then Filter > Sharpen > Unsharpen Mask. 50%, 2px, 0 Threshold.